Hello little blog, how have you been? I've been busy moving and visiting family over the holidays, but now I'm ready to get back to updating you. In fact, my only resolution this year is actually to blog more often! So let's get to it.
I found a nice looking bag of frozen, unpeeled shrimp at my new grocery store (since moving I've swapped a Whole Foods for a Wegman's) and decided what the heck - I don't do a lot of seafood, but I always feel like I should, and shrimp seem a rather unthreatening place to start. I know shrimp overcook pretty easily, so I wanted to make something where I could just drop them in in the last few minutes. My standby curry seemed a good place to start, both for the ease of cooking and for the fact that the strong curryness would hide the seafoody shrimpyness. Yes I'm a wimp.
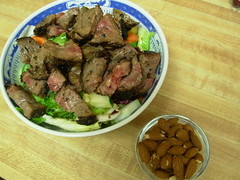
Curry is one of my favorite go-to meals when I don't really feel like cooking. All it requires you to have on hand are a can of coconut milk, a jar of curry paste, whatever random assortment of veggies you have languishing about, and some kind of meat. The basic instruction is: brown onions in coconut oil, add in all the other ingredients, simmer 20 minutes.
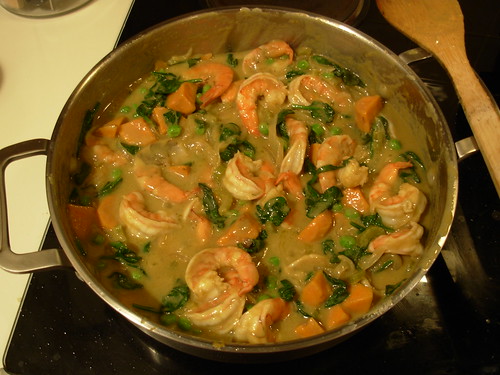
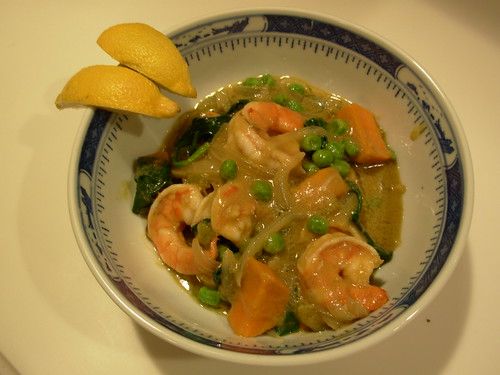
GO-TO CURRY shrimpy style
serves 3 maybe
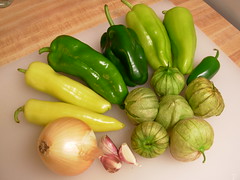
The culprits today:
copious amounts of coconut oil
half a large onion
2 tiny sweet potatoes
1 stalk of celery
a can of coconut milk
a small jar of green curry paste
1/2 cup frozen peas
huge handful of baby spinach
1 lb shrimp
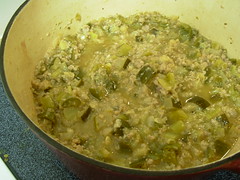
I heated the coconut oil in a big skillet and set the onions, sweet potatoes and celery to browning. Then I added the curry paste and let it fry for a minute until it got fragrant, followed by the can of coconut milk, and let it simmer for 15 minutes. Then I stirred in the peas and spinach until the spinach started to wilt, followed by the shrimp. Watched it like a hawk and removed it from the heat just when the shrimp turned pink. Done! Served it with lemon wedges to spruce it up a little bit.
To be very strictly paleo you wouldn't want to use the peas or possibly the sweet potatoes, but like I said - just add whatever veggies you have in the house and it'll be fine. My curry is different every single time I make it! If I'm using a different, longer-cooking meat such as chicken, I usually add in at the same time I add the coconut milk.
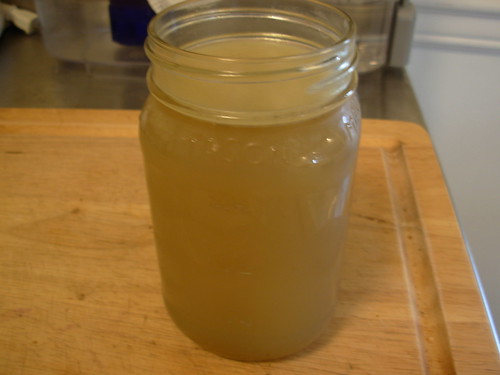
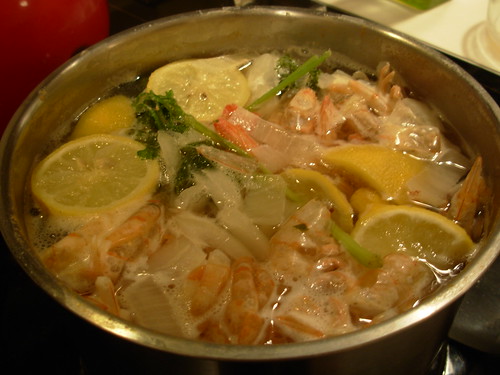
Since the shrimp I bought needed to be peeled, I was left with a big pile of shrimp shells. I decided to try making some shrimp stock. I have no idea how this tastes yet, and frankly I'm a little leery of it (eww seafood!), but I'm determined to find some way to eat it this week.
I read a few recipes online and amalgamated them to this:
SHRIMP STOCK
shells and tails from 1 lb of shrimp
1/4 of an onion, chopped
1 stalk of celery, chopped
1/2 a big carrot, chopped
a few sprigs of parsley
1 small lemon, sliced
1 bay leaf
5 whole peppercorns
1/2 tsp sea salt
water to cover
I combined everything in a smallish pot and brought it to a boil. Skimmed the foam, reduced the heat, and let it simmer for an hour.
Now I have this:
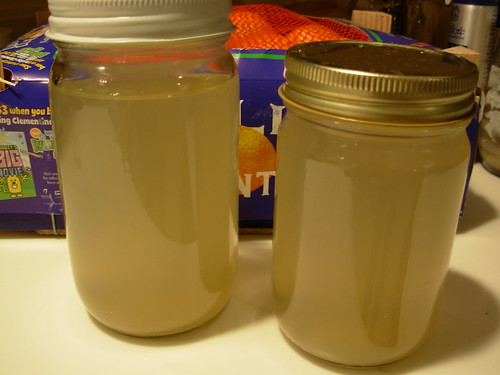
And no idea what to do with it! Please don't say seafood soup, I can't think of anything more horrifying.
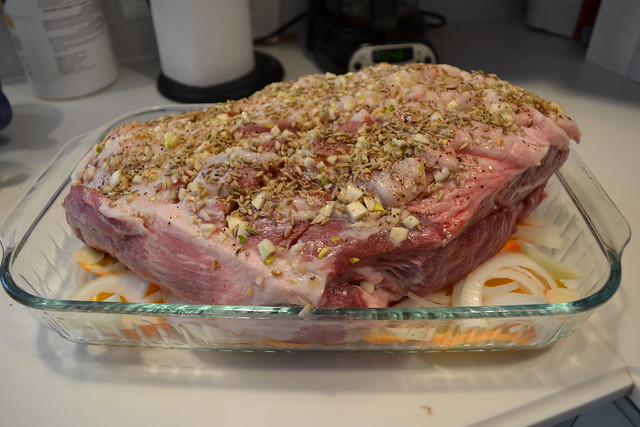
In the meantime, maybe I'll start cooking some stuff out of my shiny new cookbooks.
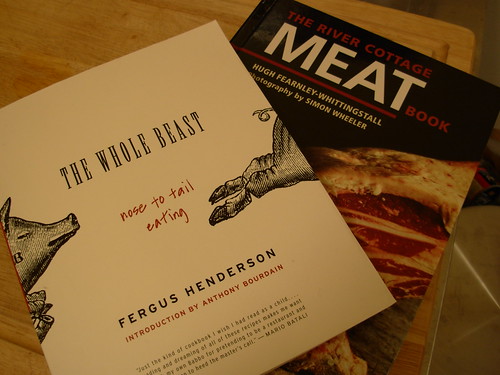
The Whole Beast - Nose to Tail Eating by Fergus Henderson and The River Cottage Meat Book by Hugh Fearlessly-Eatsitall. I can't wait! Happy New Year everyone!